Garmin
StreetPilot c320/c330 Screen images with description
Part of c320/c330 product review HERE
by Joe Mehaffey
Note:
Screen images below
are 320x240pixels and are NOT to scale. Likely the images are
LARGER on your computer's screen than the actual images on the
c320/c330 units.
A
Row
B Row
1) Above are c320/c330
displays in
the 3D road display mode
2) Above are more
c320/c330 displays
in the 3D road display mode The following are the
simple steps
required to input a destination address into c3x0.
Note 1) Examples may omit some screens for brevity.
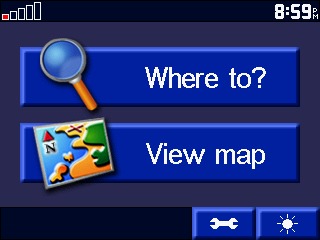
2) Figure 3A) Upper left corner is ONLY satellite lock indication in
the c320.
The image shows ONE satellite (red) in lock.
3) On the first screen push "WHERE TO?"
Then push "ADDRESS" to begin
entry.
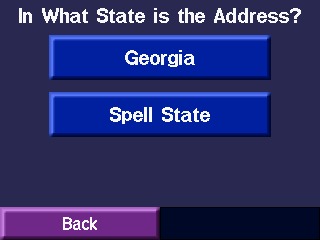
4) Then we pushed
"Georgia".
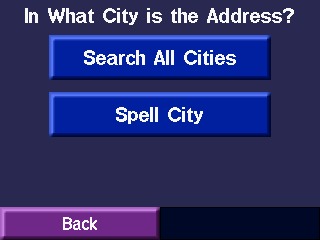
Then we pushed "Search All Cities".
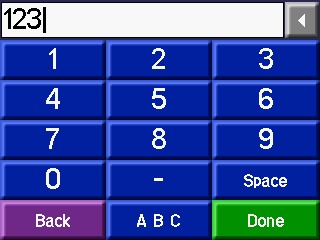
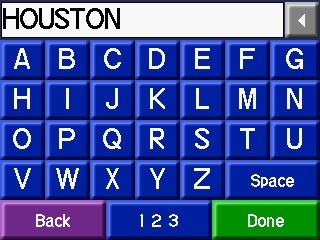
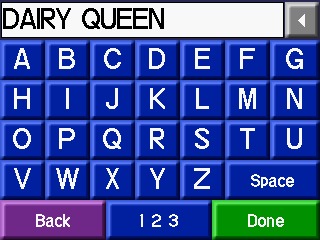
5)Then enter house number
and
press done.
Then enter street
name and press done.
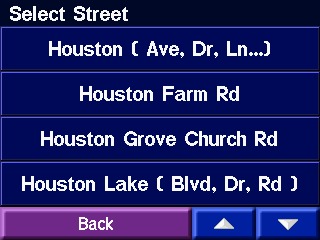
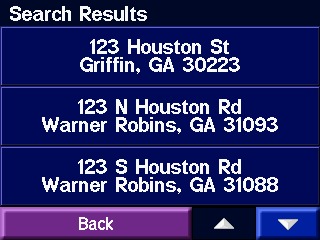
6)Then select your street
name from
list.
Then select the exact address from list.
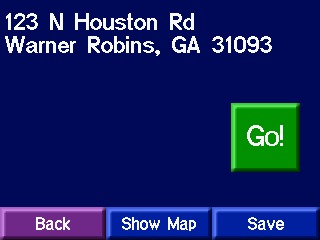
7)Then if all
OK, press GO to start routing.
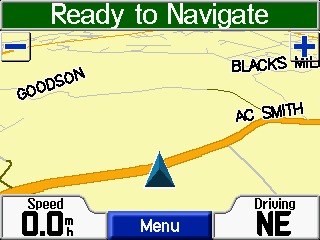
That is all there is to it. The
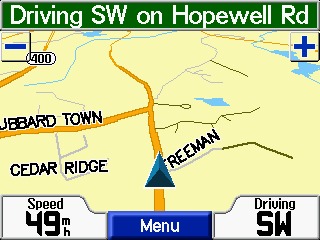
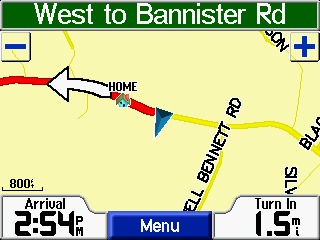
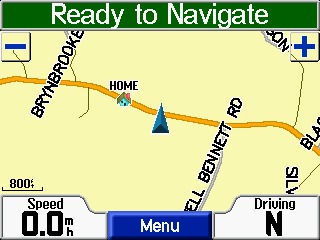
following are images of typical NON 3D MODE map screens on the c320/c330
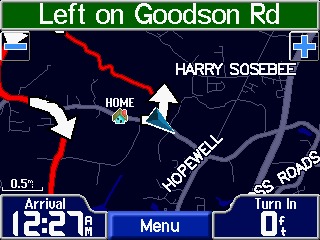
8)Routing along RED line, Arrow points the way. When not
routing,
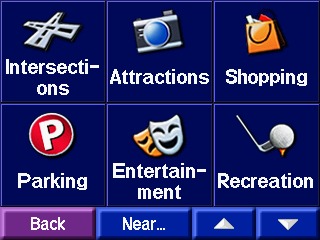
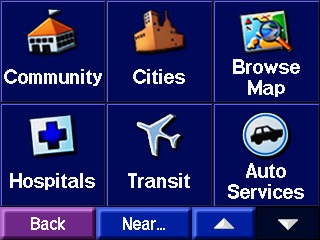
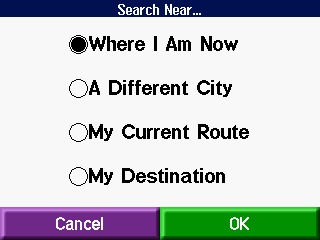
position shows on map The following are FIND
LOCATIONS and Points of Interest options of
the c320/c330
9)The user picks ONE of the options from the three pages of locations
with a "Press".
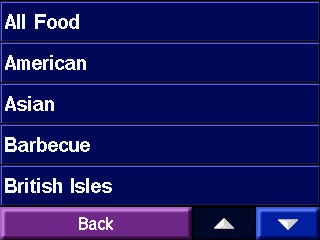
We pressed "FOOD"
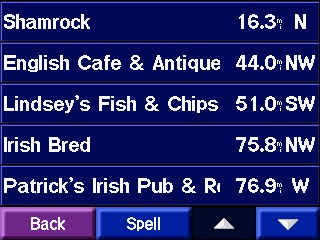
10)
We then pressed "British Isles".
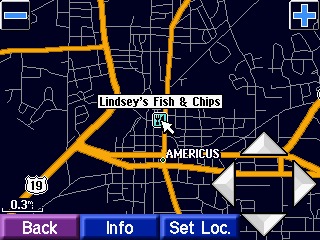
11) Then we selected "Lindsey's" and up came the Lindsey's Fish and
chips screen
Then we pressed GO
and the c320 takes us to our dinner!
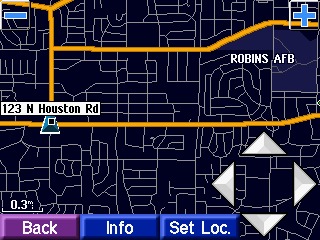
12) Press SHOW map in 11B) to see
map.
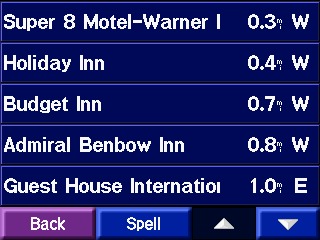
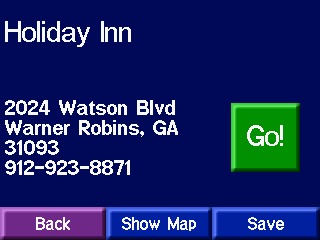
Then there is the similar LODGING select.
13) We chose Holiday Inn from the
list.
Press MY LOCATIONS (9A) for more.
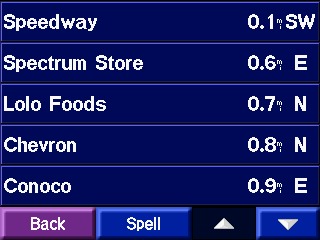
14)Find FUEL gives nearby locations.
Find By Name locates nearest special
store.
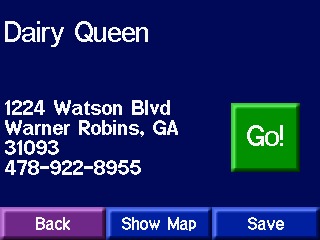
15)Press GO to drive to nearest Dairy Queen.
The rest of the "Find Points of Interest" works similarly. DON'T
expect to find every store of every kind but there are plenty for
normal use on the highway. The following is a listing
of the most common system setup screens.
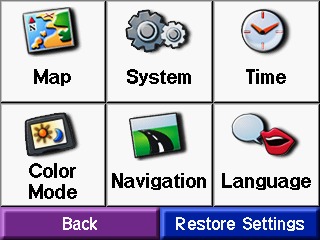
16) System Setup Options
selection
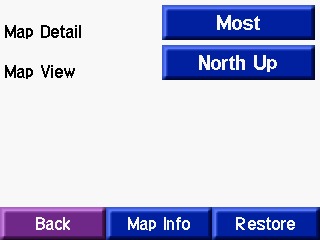
Select Map Detail and 3D, North, or Track up.
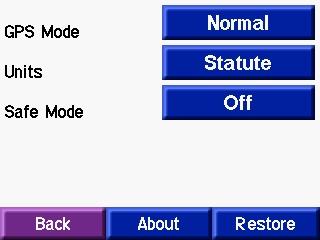
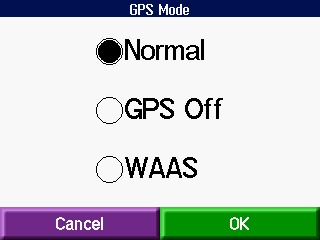
17) Select your system modes of
operation.
Setup your time display options.
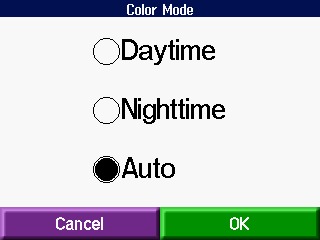
18) Pick your color display
mode.
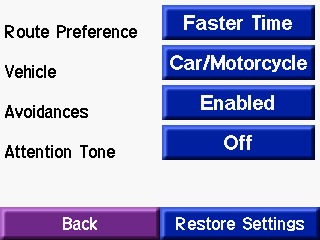
Pick your driving preferences.
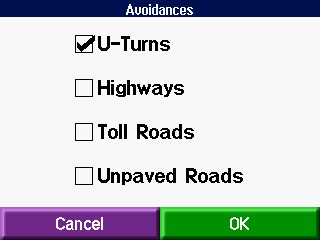
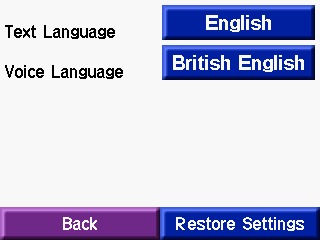
19) Pick your road avoid
preferences.
Pick your language preferences.
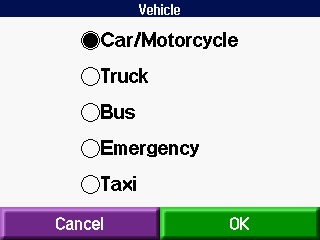
20) Pick the vehicle type you drive.
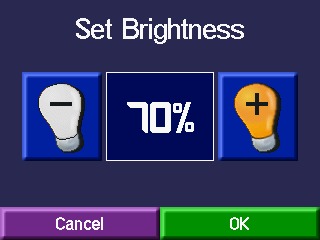
21) Setup desired screen brightness.
Miscellaneous Screens of
interest on the c320/c330
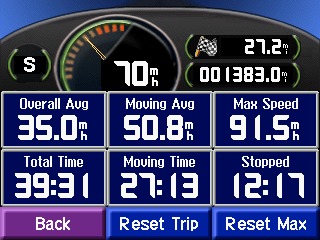
22) With "no U-Turns" optioned, c320 can
Press "ARRIVAL" window on map
screen
take you on some
wild detours.
to view the Trip Computer
screen. NO data
fields are user configurable on c320.
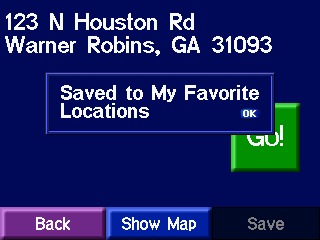
23) Saving ADDRESS to
FAVORITES
Show address, then scroll is available.
24) Press "Turn In" data field on
map
FIND destination can be qualified as above.
display to show turn
detail window.
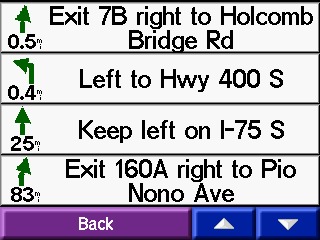
25) Push on street window at top of
MAP DISPLAY for this turn screen.
One caveat. The above maps and displays are displays
downloaded directly from the c320 unit used in our
evaluation. However, when viewed in sunlight on a clear day
with the c320 GPS attached to your windshield, the apparent
contrast makes the display wash out such that the displayed roads OTHER
THAN the red line showing your route can be difficult or impossible to
see. This even at 100% brightness. The StreetPilot
2610/2620 screens are much more readable in sunlight than are the
c320/c330 screens. Part of this results from Garmin's
decision to "de-emphasize" all roads except the route you are on by
reducing the brightness and contrast of "other" roads when you are
executing a route. Things are not any better when you are NOT
routing as then the major roads are bright and high contrast and the
secondary roads are dimmer with low contrast and tend to blend into the
background.
Joe's Opinion: We think that it is valuable to be able to see
crossroads, nearby roads, and all roads in (for example) a cloverleaf
interchange. This gives us more information as to the nature
of our surroundings and the layout of complex turns. We are
not in favor of this "de-emphasis" of "other" roads beyond the route
you are traveling. Not being able to know details of a complex road
situation caused us to make wrong choices in several complex
interchanges. This has not happened to us using the
SP2610/2620 units.