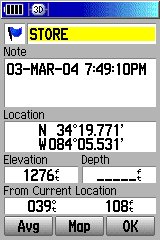
1
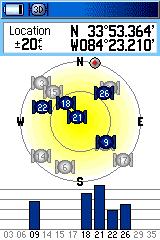
1a) Satellite Page with Battery Charge/External Power indicator at top. Red dot is direction of travel
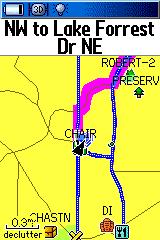
1b) Map Page (pink line is the active route and blue line is recorded track)
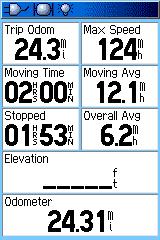
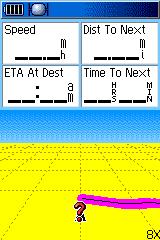
1c) Travel Computer (with questionable Max Speed!)
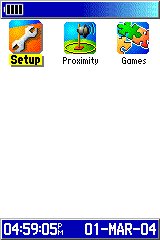
1d) Main Menu
The G-76C is a departure from Garmin's recent effort to "segment" the market by producing GPS receivers which are application specific. Garmin has Marine units, Hiking units, Car Navigator units, Beginner's Units and a host of "gray" units in between. In its time, the GPS-12xl was a "GPS for All Uses", but that was then and this is now!
Below we show you over SIXTY different display and setup screens. Don't let this scare you. The user can select/de-select what screens he wants to have in the normal screen rotation and change them at will. In the displays below, there is a sentence or two below each group of four pictures with a brief explanation of the screen's function. For more details on how to use a G-76C receiver, download the manual from (HERE).
Main
Screens in the PAGE screen rotation
1
1a) Satellite Page with Battery Charge/External Power
indicator at top. Red dot is direction of travel
1b) Map Page (pink line is the active route and blue
line is recorded track)
1c) Travel Computer (with questionable Max Speed!)
1d) Main Menu
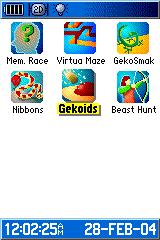
2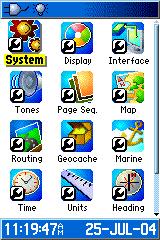
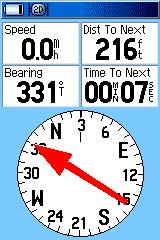
2a) Setup Menu under Main Menu
2b) Compass display (arrow pointing to next route turn)
2c) Find button -Menu Top
2d) Find button -Menu Bottom
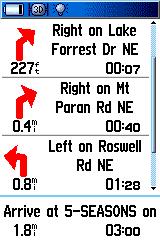
3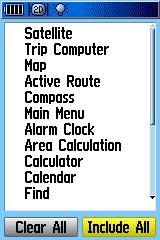
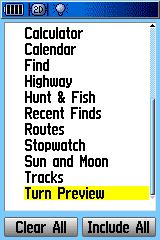
3a/b) List of available screens which can be put into
the Page/Quit rotation sequence from the Page Seq. list.
3c) Route turn list if active route is selected
3d) Highway Page
Other Sub Menus:
4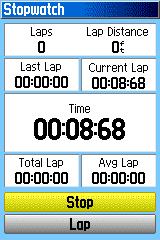
4a) Stopwatch screen which allows lap times and total
times.
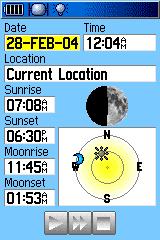
4b) Sun and Moon data screen.
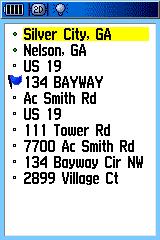
4c) Waypoint List screen. You can select one, press
enter for waypoint details.
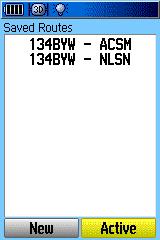
4d) Listing of Saved Routes screen.
5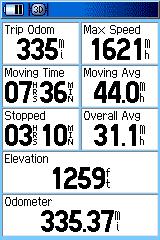

5a) Travel Computer Screen. Max Speed is from the
last Concorde Flight. ![]()
5b) Alarm Clock
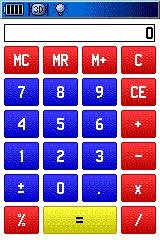
5c) Calculator
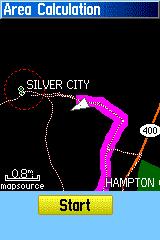
5d) Area Calculation
System
Setup Screens
6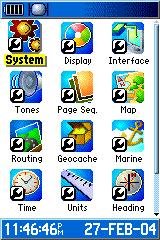
6a) SETUP options which are displayed when SETUP is selected
from the Main Menu.
6b) Available Games which, when selected, can be played
on the GPS unit.
6c) GeoCaching Screen. Here you can store and review
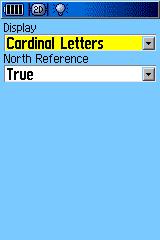
stored Geocache entries.
6d) North Display selection screen. You can select
E or 90 and True/Magnetic options.
7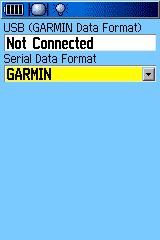
7a) Interface selection/status display screen.
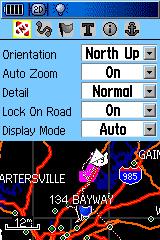
7b) Map Screen in Setup mode.
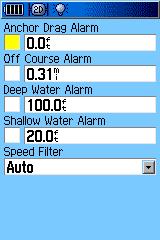
7c) Setup screen for the Marine mode options.
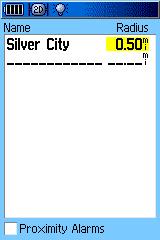
7d) Proximity alarm setup page. Shown is alarm
if the unit gets within 0.5 miles.
8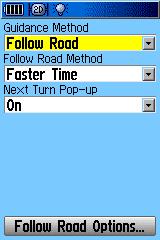
8a) Guidance Method Setup screen for Car Navigation.
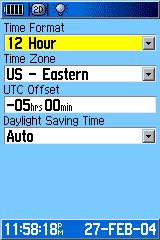
8b) Time Format, Time Zone setup screen.
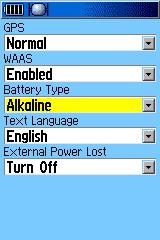
8c) GPS Options setup screen.
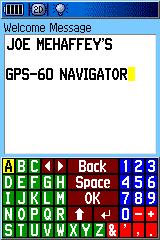
8d) "Welcome Page" setup screen.
9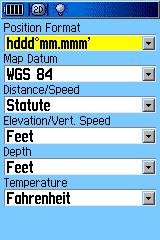

9a) Position Options setup screen.
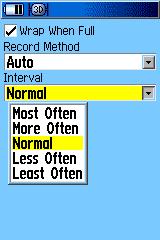
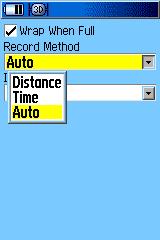
9b/c)Tracklog options setup screens.
9d) Display setup screen. There are 8 color schemes
to choose from. This one is "diamond".
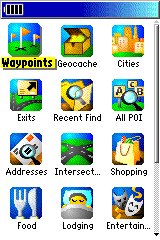

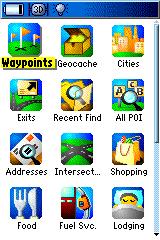
11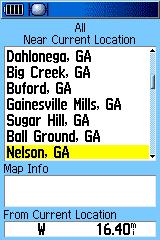
11a) Optional list is of cities nearest your current
location.
11b) Option is a listing of Recreation Areas nearby.
11c) Option is a listing of local "Points of Interest".
You get a mixture here.
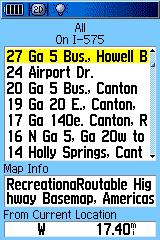
12
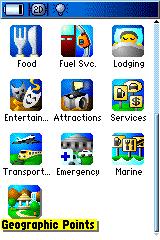
12a) Optional listing is of local shopping locations.
12b) Optional listing is of local food markets and restaurants.
12c) Listing is of local lodging. Mitchell's Storage
seems misplaced.
12d) Listing is for Government and Emergency Services.
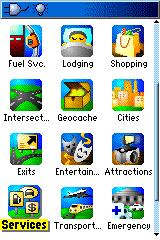
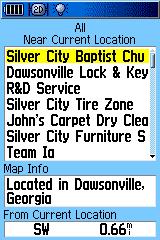
13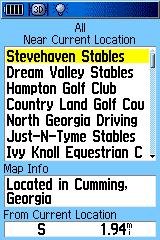
![]()
13a) Local entertainment attractions. We have a
lot of horses in our area.
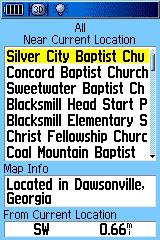
13b) Local "attractions".
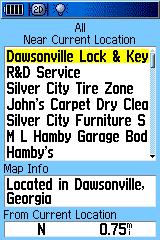
13c) Local "services".
13d) Local transportation services.
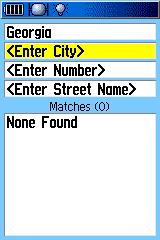
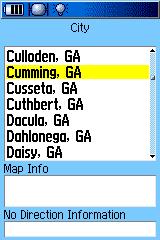
14a/b) Entering an actual ADDRESS is another option for
selecting a Destination. First we select "enter city" press enter
on the GPS and then use the keyboard to enter the first few letters of
a city name. Up comes a page (14b) showing a list of cities.
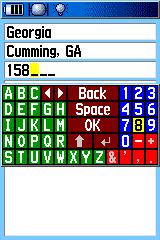
14c) Then a street NUMBER is entered using the same keyboard
used for City Name entry and select OK then ENTER.
15
15a) Then select "Enter Street Name" in 14a, and
press ENTER. Then Enter the first few letters of the street name
using the same keyboard as in 14c). Press OK then ENTER when your
streetname appears in the 15a) display. Scroll to your street and
press ENTER. Press GO TO for automatic routing to begin.
If setup to PROMPT:
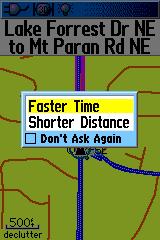
15b) Select either Faster Time or Shorter Distance
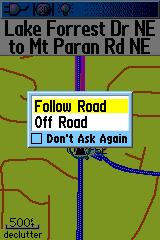
15c) Select Follow Road or Off Road
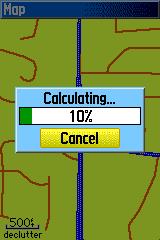
15d) Bar-graph showing percent of route being calculated.
Routing Notes:
1) The turn screens "pop up" as a turn is approached
and return to the normal map screen as you pass the turn.
2) The user can select either NORTH UP or TRACK
UP for the main map, but the pop-up screens are always TRACK UP.
3) If you fail to follow the directions,
the GPS will automatically recalculate a new route as soon as it realizes
you are "off route".
4) If you stop at (say) a restaurant, when
you return and restart the GPS, it will automatically recalculate
and take you on the rest of your route.
5) "Road Routing" is the default. If you
want to use the G-76C on a hiking adventure, you must select the
OFF ROAD option in MAP SETUP (go to MAP page and press MENU, on MAP tab,
turn LOCK ON ROAD to OFF) or the G-76C will try and route you from waypoint
to waypoint using nearby roads. ALSO: You must select OFF ROAD
in ROUTE PREFERENCES in the ROUTING SETUP tab in the MAP SETUP menu.
6) Faster Time seems to always give me better
automatically generated routes than the Shorter Distance option.
B) The OFF ROAD mode of operation
As noted in item #5 immediately above, you must select the
OFF ROAD mode of operation. This mode is used for hiking and marine
activities. In this mode, the routes do NOT lock to roads and
the compass page is changed in format to similar to the G-V and other general
purpose Garmin GPS units.
Special
Map Symbols for User Waypoints
16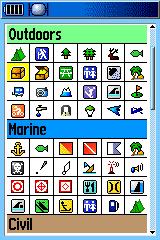
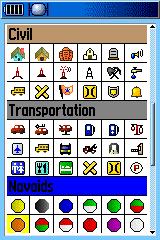
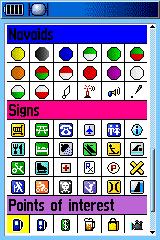
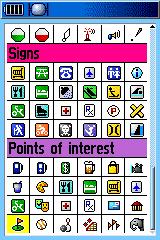
16) The above windows show the variety of special map
symbols which can be used with waypoints and geocache waypoints to indicate
the type of location being marked. This is the largest assortment
of map symbols we have seen so far in any GPS receiver.
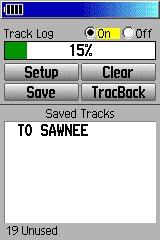
Tracklog
Screens
17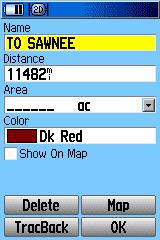
17a) Saving a Track page. You can save a
tracklog, give it a name and a color when displayed.
17b) A saved Tracklog can be used to trackback in off
road mode.
17c) The user can setup the tracklog to drop trackpoints
on time, distance or automatic.
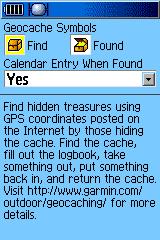
Geocaching Screens
18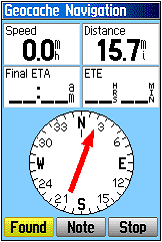

18a) The GeoCache setup screen.
18b) When GeoCache mode is enabled, the Compass
Screen changes to the special GeoCache Mode.
18c) If notes about a GeoCache are included, they can
be displayed by clicking on NOTE.
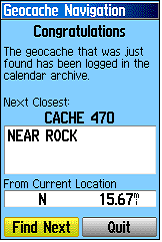
18d) When a GeoCache is found, that fact is stored and
then you can go on to the next one.
Route
Guidance and Typical Map Screens in the Night Mode
19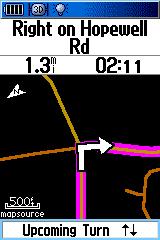
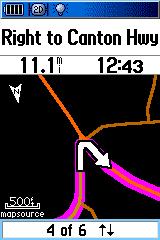
19a/b) The user can explore a computed route and look
at the turns to come. Above are shown the "next" turn and the 4th
of 6 turns on the current route. This is essentially the same picture
that appears when the GPS is approaching the next turn in an executing
automatic route.
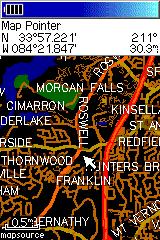
19c/d) Typical street maps shown at maximum detail.
20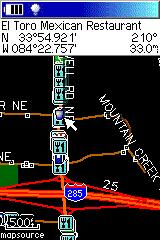
20a) Typical street map showing restaurants and services
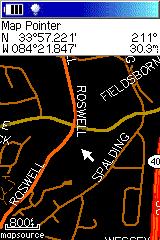
along Roswell Road, detail at 500ft scale.
20b) Road map at HIGHEST detail setting.
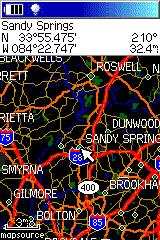
20c) Road map at NORMAL detail setting.
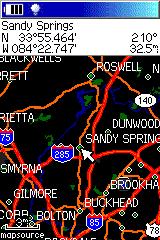
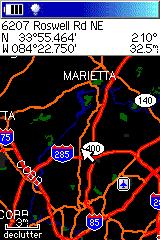
20d) Road map with map DECLUTTER turned ON.
Return to top of GPS-76C product Review
Click HERE to return
to Joe and Jack's GPS Information Website Main Page